"A picture is worth a thousand words," and this rings especially true in med spa marketing.
Strong visuals not only draw in customers but create credibility for your med spa. Nearly half of potential customers looking for an aesthetic provider agree that before and after pictures played a role in their decision-making process.
An American Society of Plastic Surgeons survey affirmed this trend, finding that patients looked to social media and the clinic’s website photo gallery to decide on their procedure.
So, if taking nurse aesthetic pictures isn't your built-in standard, it's time to start taking photos more (and more seriously).
In order to help you take better aesthetic nursing pictures and to optimize your photo game, we’ve compiled a list of tips.
Looking for a complete marketing guide? Check out our three-part series on Opening a Med Spa: from $0 to Your First $100k.
7 Tips for Taking Better Nurse Aesthetic Pictures for Med Spa Marketing
1. Get the Right Equipment and Set-Up
If taking nurse aesthetic pictures and client before and afters isn't your forte, don’t worry.
The right setup can do a lot of the heavy lifting. Remember, you signed up for a cosmetic nurse job, not professional photography!
Tip: Consider hiring a pro photographer or ask someone in your network who takes great photos to come to your clinic or med spa office and assess the lighting, backdrops, and device settings. This will ensure your aesthetic nursing pictures are off to the right start.
Recommended Equipment:
- Canfield's Vectra and Visia 3D Imaging is an expensive but user-friendly option that takes great photos. You can look for secondhand equipment on Facebook Marketplace or local listings (like Craigslist).
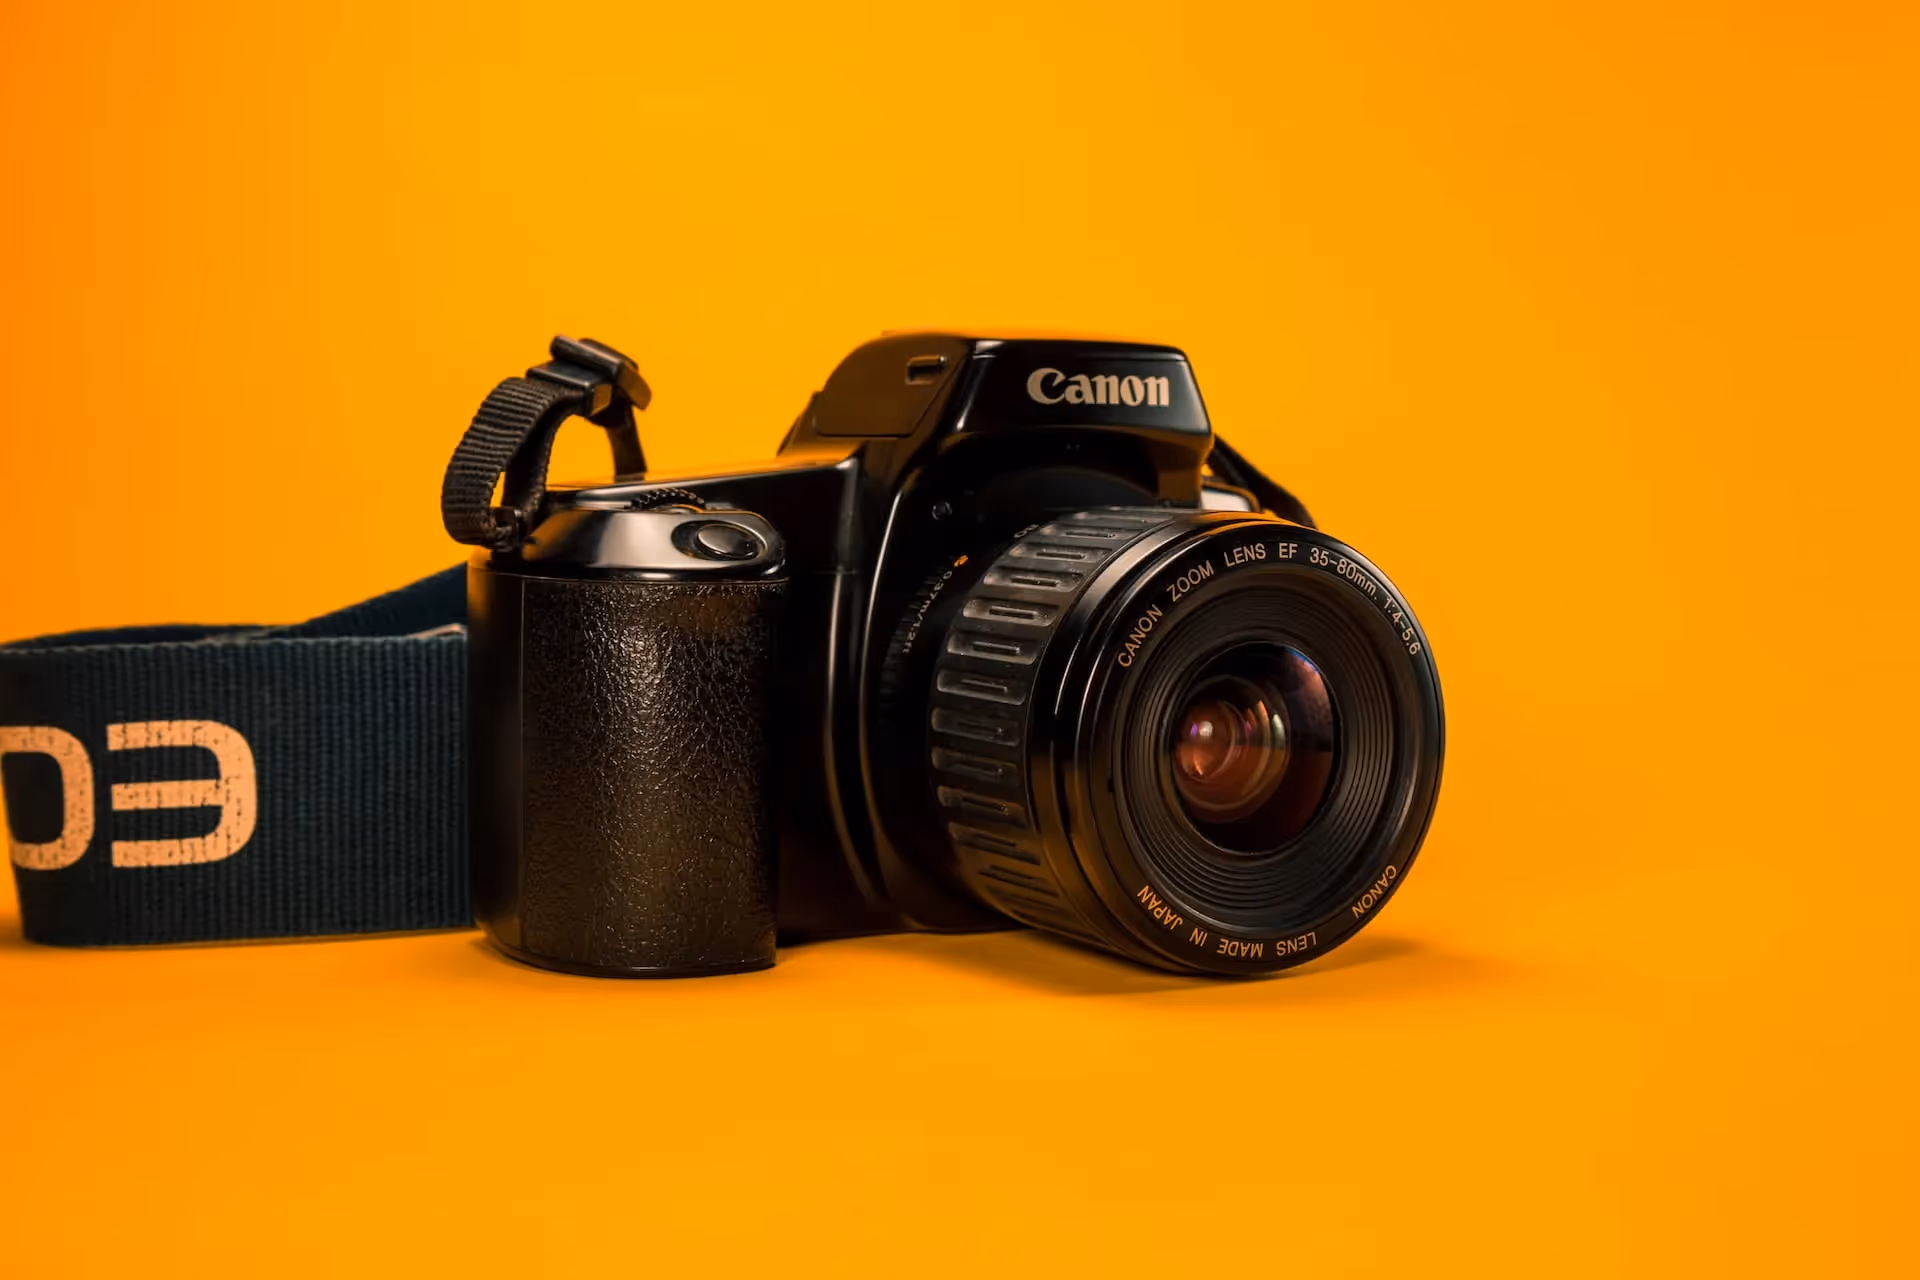
- A DSLR camera with a 105mm lens is ideal for subtle improvements, but any camera with this lens will work.
- An ordinary iPhone or Samsung Galaxy can sufficiently do the job with the right camera settings and editing apps. Just ensure your phone’s camera has a high resolution (at least 12 megapixels).

2. Identify the Best Camera Settings
With a camera, here are great portrait settings for indoor photography and capturing nurse aesthetic pictures:
- low ISO (around 100); increase to around 800 if in an area with not enough light
- aperture of f/4 or lower for portraits and f/11 for wide shots
- select the white balance preset
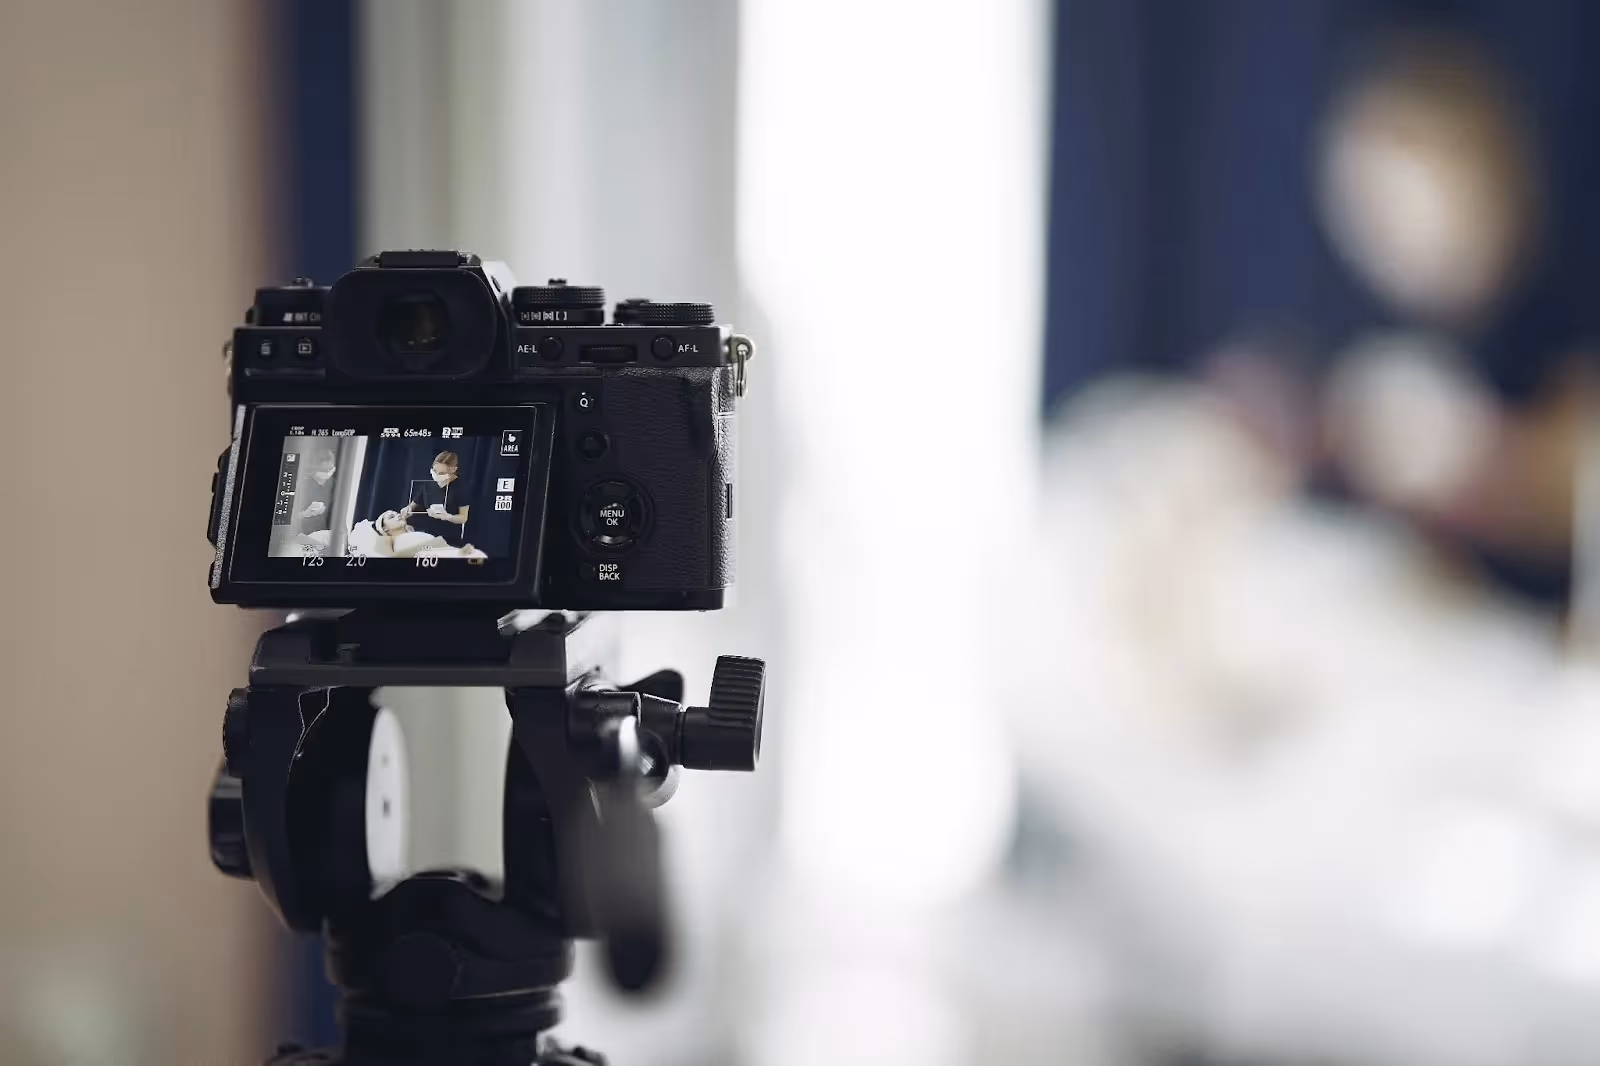
- shutter speed of at least 1/100 to avoid blur if you don't have a tripod
If you plan on using a phone or tablet, use the same camera settings to produce the same color and exposure on every image. If you're using an iPhone, preserve your settings by going to Settings > Camera > Preserve Settings, and choose the filter, lighting, depth, and Live Photo options you want to lock in as default.
Another great photo tip for smartphones is to use grids, showcasing multiple photos in a frame.
Here are some apps that help with grid and before and afters:
Remember, do not alter or add filters to photos that change the appearance of your clients! A good before and after should realistically capture the cosmetic procedure without enhancement. While adjusting the white balance and contrast of both photos and some other post-editing is fine, using Facetune or other cosmetic apps is a no-no!
Check out this article for a deeper dive to help build your social media presence.
3. Use Proper Lighting
Lighting is the most crucial variable in taking before and after aesthetic nurse pictures.
Clinics usually have fluorescent lighting, which isn't flattering. Natural light can also affect indoor lighting, which may cause colors to fluctuate. Cool colors (over 6000 Kelvins) appear with a bluish-white tinge, while warmer colors give off a white-yellow color. A color temperature of 5000K is ideal for clearly capturing subtle details.
Create a dedicated photography room by transforming an empty, windowless space. Can't swing that? No worries! Grab some blackout shades to maintain consistent lighting.
Here are some aesthetic photo lighting tips:
- Use an auxiliary light source, like a speed light, to reduce shadowing under the nose and chin caused by overhead lighting.
- Avoid using a direct flash.
- Use box lights to convert harsh light into a broader, softer light.
- Use two box lights on the side of the room, angled towards the patient.
- Use a ring light. Place it parallel to the patient, level to their face. The Lume Cube and Glamcor are crowd favorites!
4. Keep it Consistent!
Keep your nurse aesthetic pictures consistent with the same background. You can purchase a collapsible backdrop or colored panels.
A cosmetic photo background should be:
- Neutral—it’s a pattern-free zone!
- Non-reflecting—flat and non-shiny for the win.
- A consistent color—think: blue, grey, or black.
To take your consistency up a notch, here are some other tips:
- Apply tape lines on the wall to guide patients on where to look.
- Use an octagon-shaped foot positioning mat to help your patients get in the same position and angle for every picture.
- Use a backless stool and mark lines on the floor for a consistent distance.
- Try to avoid using the selfies clients send you.
5. Keep the Same Distance
As a general rule, the camera and the lighting sources should be at least three feet from your patient. If you're using multiple light sources, place them at equal distances from the camera for balanced lighting.
It's also vital that patients keep their heads perfectly horizontal. You can use wall markings and foot markings to guide them on where to look and stand.
Tip: Take at least three shots of every angle to have options for better photo matching within your library of aesthetic nursing pictures.
6. Stay Natural
Putting your patient's bare-faced photo in the before and an entirely made-up face in the after image can feel misleading.
Before taking any photos, ensure your patient's face is clean and bare, completely free of makeup and jewelry. Their face should present a soft, relaxed expression. Generally, the patient should not be smiling unless, for example, you’re showing off Botox or filler in laugh line areas.
Remember: keep your clients hair tucked away and off the face. Pulled-back hair and clipped-up bangs helps put more emphasis on the face.
Patients should wear the same clothing in the before and after photos. You could always offer clients in-clinic, branded, and colored hoodies to take photos in. If results take a few days to set in, invite your patients back into the office for photos with an incentive (like a discount on their next procedure) or take them during a check-up.
7. Take Photos From Multiple Angles
Take your nurse aesthetic pictures from at least three angles: head-on shot, left profile, and right profile.
You can also capture a three-quarter shot, which is halfway between head-on and side profile angles. Choose angles that highlight your work!
Tip: Don't tilt your camera up and down; Keep it parallel to the ground to avoid distorting your patient's appearance. For consistency, consider hanging baseline photos and take three shots of each angle to get a close match.
Using grid lines when using a phone will help take consistent shots. Grid lines are available on professional cameras too.
Summary—TL; DR
Your aesthetic nurse pictures are vital for your med spa's social media marketing. Mastering lighting, background and maintaining consistency will add polish and sophistication to your before and after library.
Creating eye-catching photos requires effort, practice, and strategy.
Once you get in the swing of things, you can *lights, camera, action* your way to the top.
Learn more about how Moxie helps entrepreneurs (like you) open and run successful med spas!
When you're ready to take the next step in launching or growing your aesthetic practice, here are 3 ways Moxie can help: